

In this tutorial, we will show you how to create your first ever website! Sounds easy enough doesn't it? That's because it is!
In this tutorial you will learn about HTML (Hypertext Markup Language), JavaScript, and CSS (Cascading Style Sheets).
We will assume that you have some type of text editor such as Notepad--or even better yet, an Integrated Development Environment, or IDE for short. IDE's allow for easier development by providing autocompletion, syntax highlighting, and GIT support (we'll get to GIT in a later tutorial). I recommend downloading Visual Studio Code.
It can be downloaded here.
All my tutorials will assume that you are using an IDE.
Outline
- Create project folder and open in Visual Studio Code
- Create index.html, scripts.js, and styles.css files
- Fill out index.html
- Open index.html in your browser
- Add styles to styles.css
- Manipulate DOM (Document Object Model) with JavaScript
Project Description
Create a website using HTML, JavaScript, and CSS that has 3 elements with custom styling that keeps track of the amount of times a user has clicked a button.
Setting up your development folder
First, we need to create a folder to hold all the files for your website.
Create a folder and name it "MyFirstWebsite"
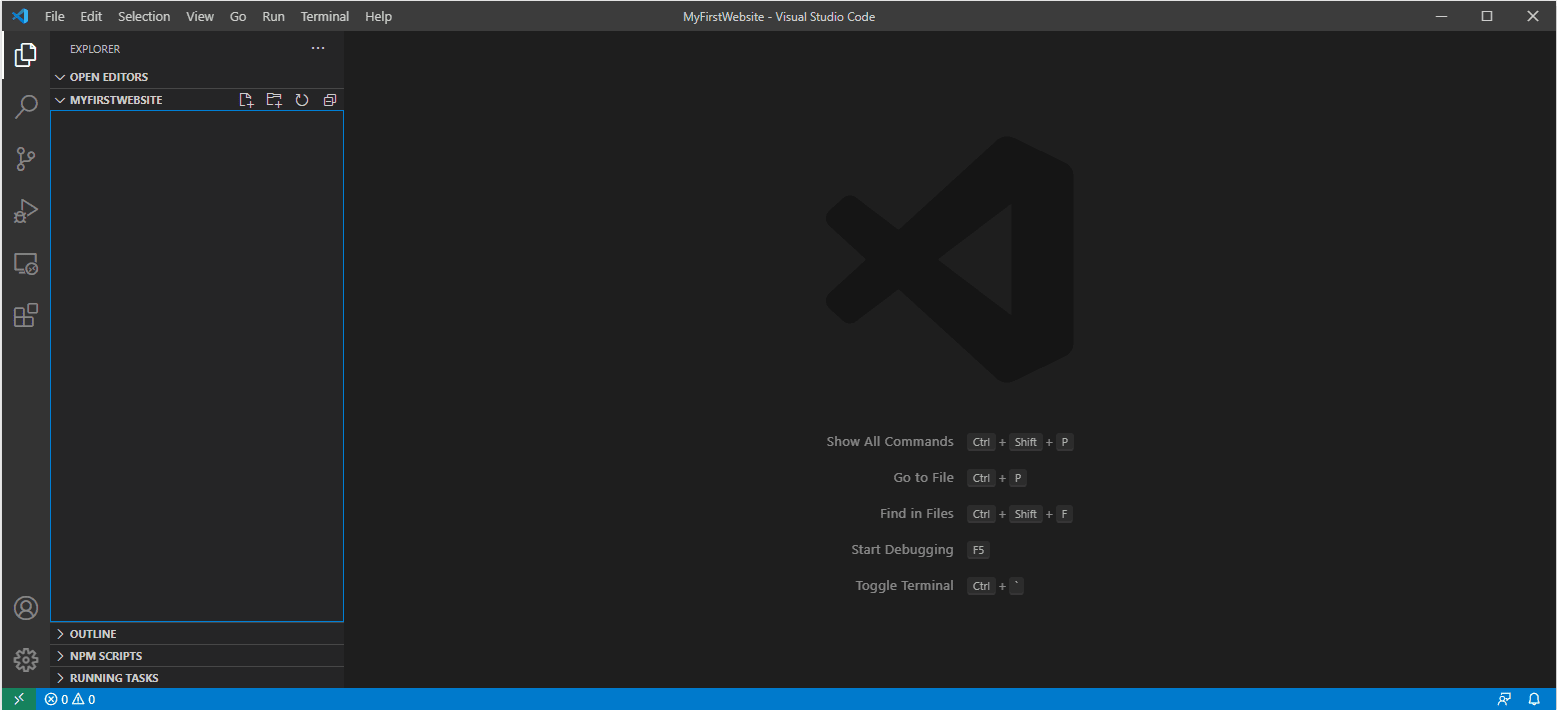
Next, in your IDE, open the folder you just made. You should see an empty project similar to this:
Now we need to create our 3 files, index.html, scripts.js, and styles.css.
Click the New File button and create these 3 files:
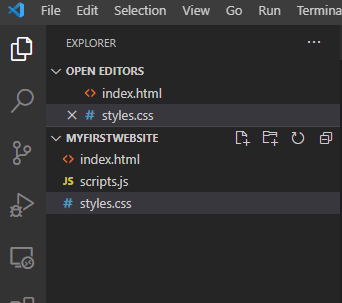
Once you have created all three of these files, your project hierarchy should look like this:
In your index.html file, paste the following:
<!DOCTYPE html>
<html lang="en">
<head>
    <meta charset="UTF-8">
    <title>Title</title>

    <link rel="stylesheet" href="styles.css"/>
    <script src="scripts.js"></script>
</head>
<body>

<div id="myDivElement">
    This is my DIV
</div>

<p class="myParagraphElement">
    This is my paragraph
</p>

<button id="myButtonElement">Click me</button>

</body>
</html>
HTML is written in a syntax known as XML. To begin an "element", you first begin wtih a <TAGNAME> and end it with a </TAGNAME>. There are also self closing elements that look like <TAGNAME/> such as the link tag. XML Documents must have one root element that can contain any amount of children. In our case, it is the <html> element.
The most basic things we need to know right now are:
- The name after the beginning of the
<is the tag name.- Ex:
<div>Some text for my DIV</div>The tag name is equal to "div"
- Ex:
- Any following items followed by an
=are attributes.- Ex:
<div id="myDivElement">In this instance, the "id" attribute is equal to "myDivElement"
- Ex:
You will naturally learn the syntax of this so we won't dive too deep into it. The goal here is to get you to a state where you have your own personal playground to test new things out.
Let's go over all the elements that are listed here in the index.html file in the order they appear.
<html>- This is our root element. All elements will be nested within here. This is a standard element that exists on all HTML pages.
<head>- The head element is a container for metadata and is placed between the html and body elements. It's a holder for elements such as the title of your page, styles, and scripts.
<meta>- The meta element is used to specify the character set, page description, author, viewport settings, and keywords of your page. This can be helpful for SEO (Search Engine Optimization) by helping search engines what your site is about.
<title>- This is the title of your document. This is what tells the browser what to label your site's tab name as. In our case it is displayed as "Title". Which will look like this in Chrome:
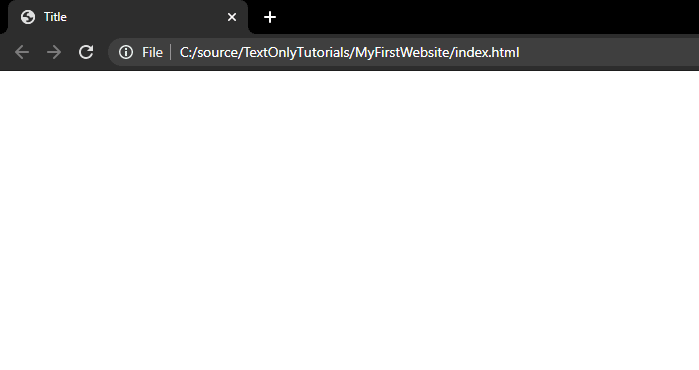
- This is the title of your document. This is what tells the browser what to label your site's tab name as. In our case it is displayed as "Title". Which will look like this in Chrome:
<link>- Links tell the browser what external resources for the users browsers to such as style sheets.
<script>- Script elements embed a client-side script (JavaScript) onto the page.
<body>- The body element is the container for all rendered elements such as
<p>(Paragraph) and<div>(Document Division) elements.
- The body element is the container for all rendered elements such as
<div>- Document Division elements are container elements that can be styled (with CSS) and controlled (by JavaScript).
<p>- A paragraph element adds a single blank line before and after itself.
<button>- A button element is a clickable element that can respond to user input.
Now that we have a basic understanding of HTML/XML, let's open up our index.html file in our browser. In file Explorer/Finder, navigate to the folder where you created your project and double click the index.html file.
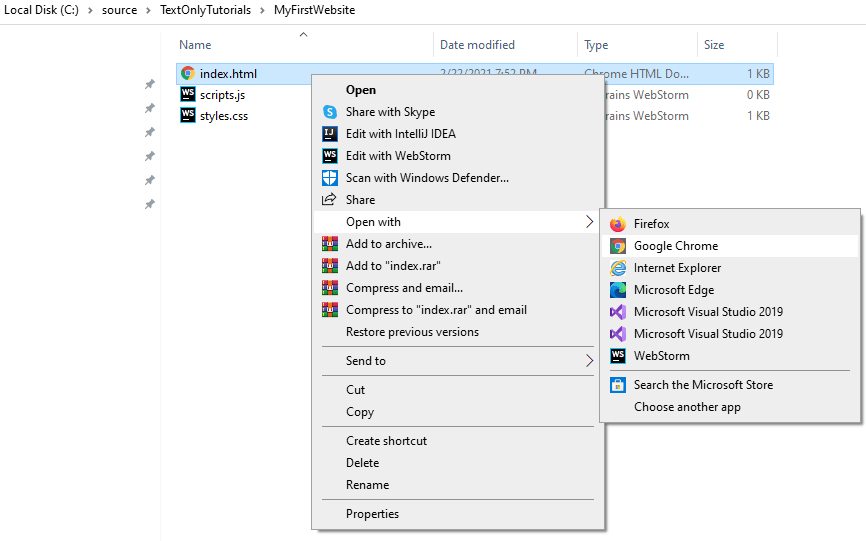
Alternatively, you can right click and choose Open with -> YOUR BROWSER
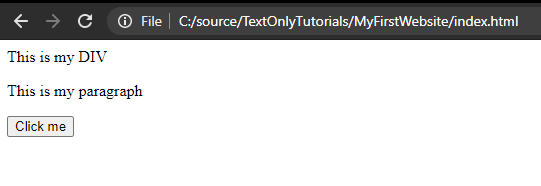
After opening you should see 3 rendered elements on your site:
Now that we have a site that you can actually see, let's move onto styling it a little bit!
In your styles.css file paste the following:
/* # is an Id selector */
/* . is a Class selector */

/* Id selector */
#myDivElement {
    color: purple; /* Change font color to purple */
}

/* Class selector */
.myParagraphElement {
    color: green; /* Change font color to green */
}

button {
    padding: 15px; /* Add 15 pixels of padding to the inside of the button */
    background: grey; /* Change background color to grey */
}
You might be wondering what the text between the /* */ is--these are called comments. They have no affect on the website and are only meant to help developers read and comprehend code. We won't worry about this too much but just wanted to make a quick note of it.
In CSS, there are mainly three types of "selectors". Selectors are queries that the browser rendering engine looks for in elements.
- Id Selector
- Id selectors looks for elements with the "id" attribute. Id's should be unique so this selector should only be used once per page.
- Example:
<div id="myDivElement">, we see that the "id" attribute is set to "myDivElement" so the first CSS rule is applied to only that element.
- Class Selector
- Class selectors look for the elements matching the "class" attribute. Class selectors unlike id selectors can be used for multiple elements. Web developers use class selectors to make sure that all parts of their website can have a consistent look and feel.
- Element Selector
- Element selectors use the elements
TAGname. For instance, this could be used to change the style of all<div>or<p>elements on the page.
- Element selectors use the elements
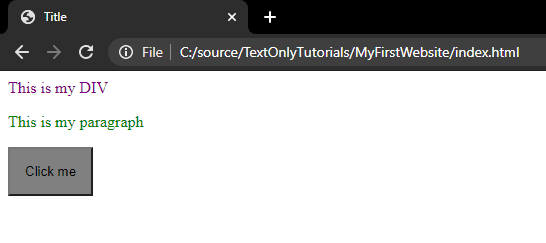
Now if we refresh the page of our index.html in our browser, we should see this:
Now that we have styled our components and finished styling our site, we will move onto the JavaScript portion of this tutorial.
In the scripts.js file, paste the following code:
var timesButtonHasBeenPressed = 0; /* Initialize variable with value of 0 */

/* Callback for when the DOM (Document Object Model) is loaded */
function onDOMContentLoaded() {
    var myButtonElement = document.getElementById('myButtonElement');
    var myDivElement = document.getElementById('myDivElement');

    myButtonElement.onclick = onMyButtonClick;

}

/* Callback for when the button is clicked */
function onMyButtonClick() {
    timesButtonHasBeenPressed += 1; /* Increment variable by 1 */

    /* If the value of timesButtonHasBeenPressed is above 10 execute line between these brackets */
    if (timesButtonHasBeenPressed > 10) {
        myDivElement.innerText = 'You can stop pressing the button now.';
    }
    /* If the value of timesButtonHasBeenPressed is NOT above 10 execute line between these brackets */
    else {
        myDivElement.innerText = 'You have now clicked the button ' + timesButtonHasBeenPressed + ' times.';
    }
}

/* Bind onDOMContentLoaded callback to the DOMContentLoaded event */
document.addEventListener('DOMContentLoaded', onDOMContentLoaded);
Variable Declaration
There is a lot going on here so I'm going to try to break this down piece by piece.
In the first line, we declare a variable: var timesButtonHasBeenPressed = 0;
Variables contain values such as strings (words), numbers, booleans (true/false), or objects.
Functions
The next following lines we make a couple function declarations. Functions are reusable pieces of code that can be bound to callbacks such as "onclick" events.
To define a function, we simply use the "function" identifier followed by the functions name. To call a function we would simply use its name follows by (). Function logic is encapsulated by what are known as curly brackets, curly braces, or just braces that look like this: { /* logic... */}
Semicolons
You may notice that a lot of the lines end with a semicolon ;. These semicolons help tell the JavaScript parser when the following action is completed. This will allow you to do multiple operations within the same line.
For example:
myVariable += 1; myVariable *= 3;
If Statements
If statements are conditional blocks that run the proceeding code if the condition returns true. Optionally after an if state you may add an else condition if the statement returns false.
Equals Operator
==
Example:
if (true == true) {
    // This will always run since true is always equal to true!
}
Does Not Equal Operator
!=
Example:
if (true != true) {
    // This will never run since true is never equal
}
Greater/Equal Than Operator
> and >=
Example:
var myAge = 20;
if (myAge > 20) {
    // Will not run because myAge is below 20
}

if (myAge >= 20) {
    // Will run because myAge is 20 or above
}
Less/Equal Than Operator
< and <=
var myAge = 21;
if (myAge < 21) {
    // Will not run because myAge is not below 21
}

if (myAge <= 21) {
    // Will run because myAge is below or equal to 21
}
Else Statement
Else statements will run the proceeding code if the previous if statement returns false.
Example:
var myAge = 20;
if (myAge >= 21) {
    // Will not run since myAge is not equal or above 21
} else {
    // Will run since myAge is not equal or above 21
}
Else If Statement
Else If statements will run the proceeding code if the previous if statement returns false AND the if statement on the same line as the else statement returns true.
Example:
var myAge = 30;
if (myAge > 30) {
    // Will not run because myAge is not above 30
} else if (myAge >= 21) {
    // Will run because myAge is not above 30 AND myAge is above or equal to 21
}
Challenge for YOU!
Using if and else if statements, customize the innerText of myDivElement to have unique message if the button pressed 5, 10, and 15 times.
If you want to see my solution, click the spoiler below!
Click me to reveal spoiler!
var timesButtonHasBeenPressed = 0; /* Initialize variable with value of 0 */

/* Callback for when the DOM (Document Object Model) is loaded */
function onDOMContentLoaded() {
    var myButtonElement = document.getElementById('myButtonElement');
    var myDivElement = document.getElementById('myDivElement');

    myButtonElement.onclick = onMyButtonClick;

}

/* Callback for when the button is clicked */
function onMyButtonClick() {
    timesButtonHasBeenPressed += 1; /* Increment variable by 1 */

    if (timesButtonHasBeenPressed == 5) {
        myDivElement.innerText = 'You clicked the button 5 times to far';
    }
    else if (timesButtonHasBeenPressed == 10) {
        myDivElement.innerText = 'You clicked the button 10 times so far!';
    }
    else if (timesButtonHasBeenPressed == 15) {
        myDivElement.innerText = 'You sure like clicking that button!';
    }
    else {
        myDivElement.innerText = 'You have not clicked the button 5, 10, or 15 times!';
    }
}

/* Bind onDOMContentLoaded callback to the DOMContentLoaded event */
document.addEventListener('DOMContentLoaded', onDOMContentLoaded);
Conclusion
By combining HTML, CSS, and JavaScript we now have our first functioning website that responds to user input. We changed the styling of a button and changed the font color of a <div> and a <p> element. We binded a onclick callback to a function we created that changes the innerText of the our div.